
Don’t forget to pin this recipe for later!


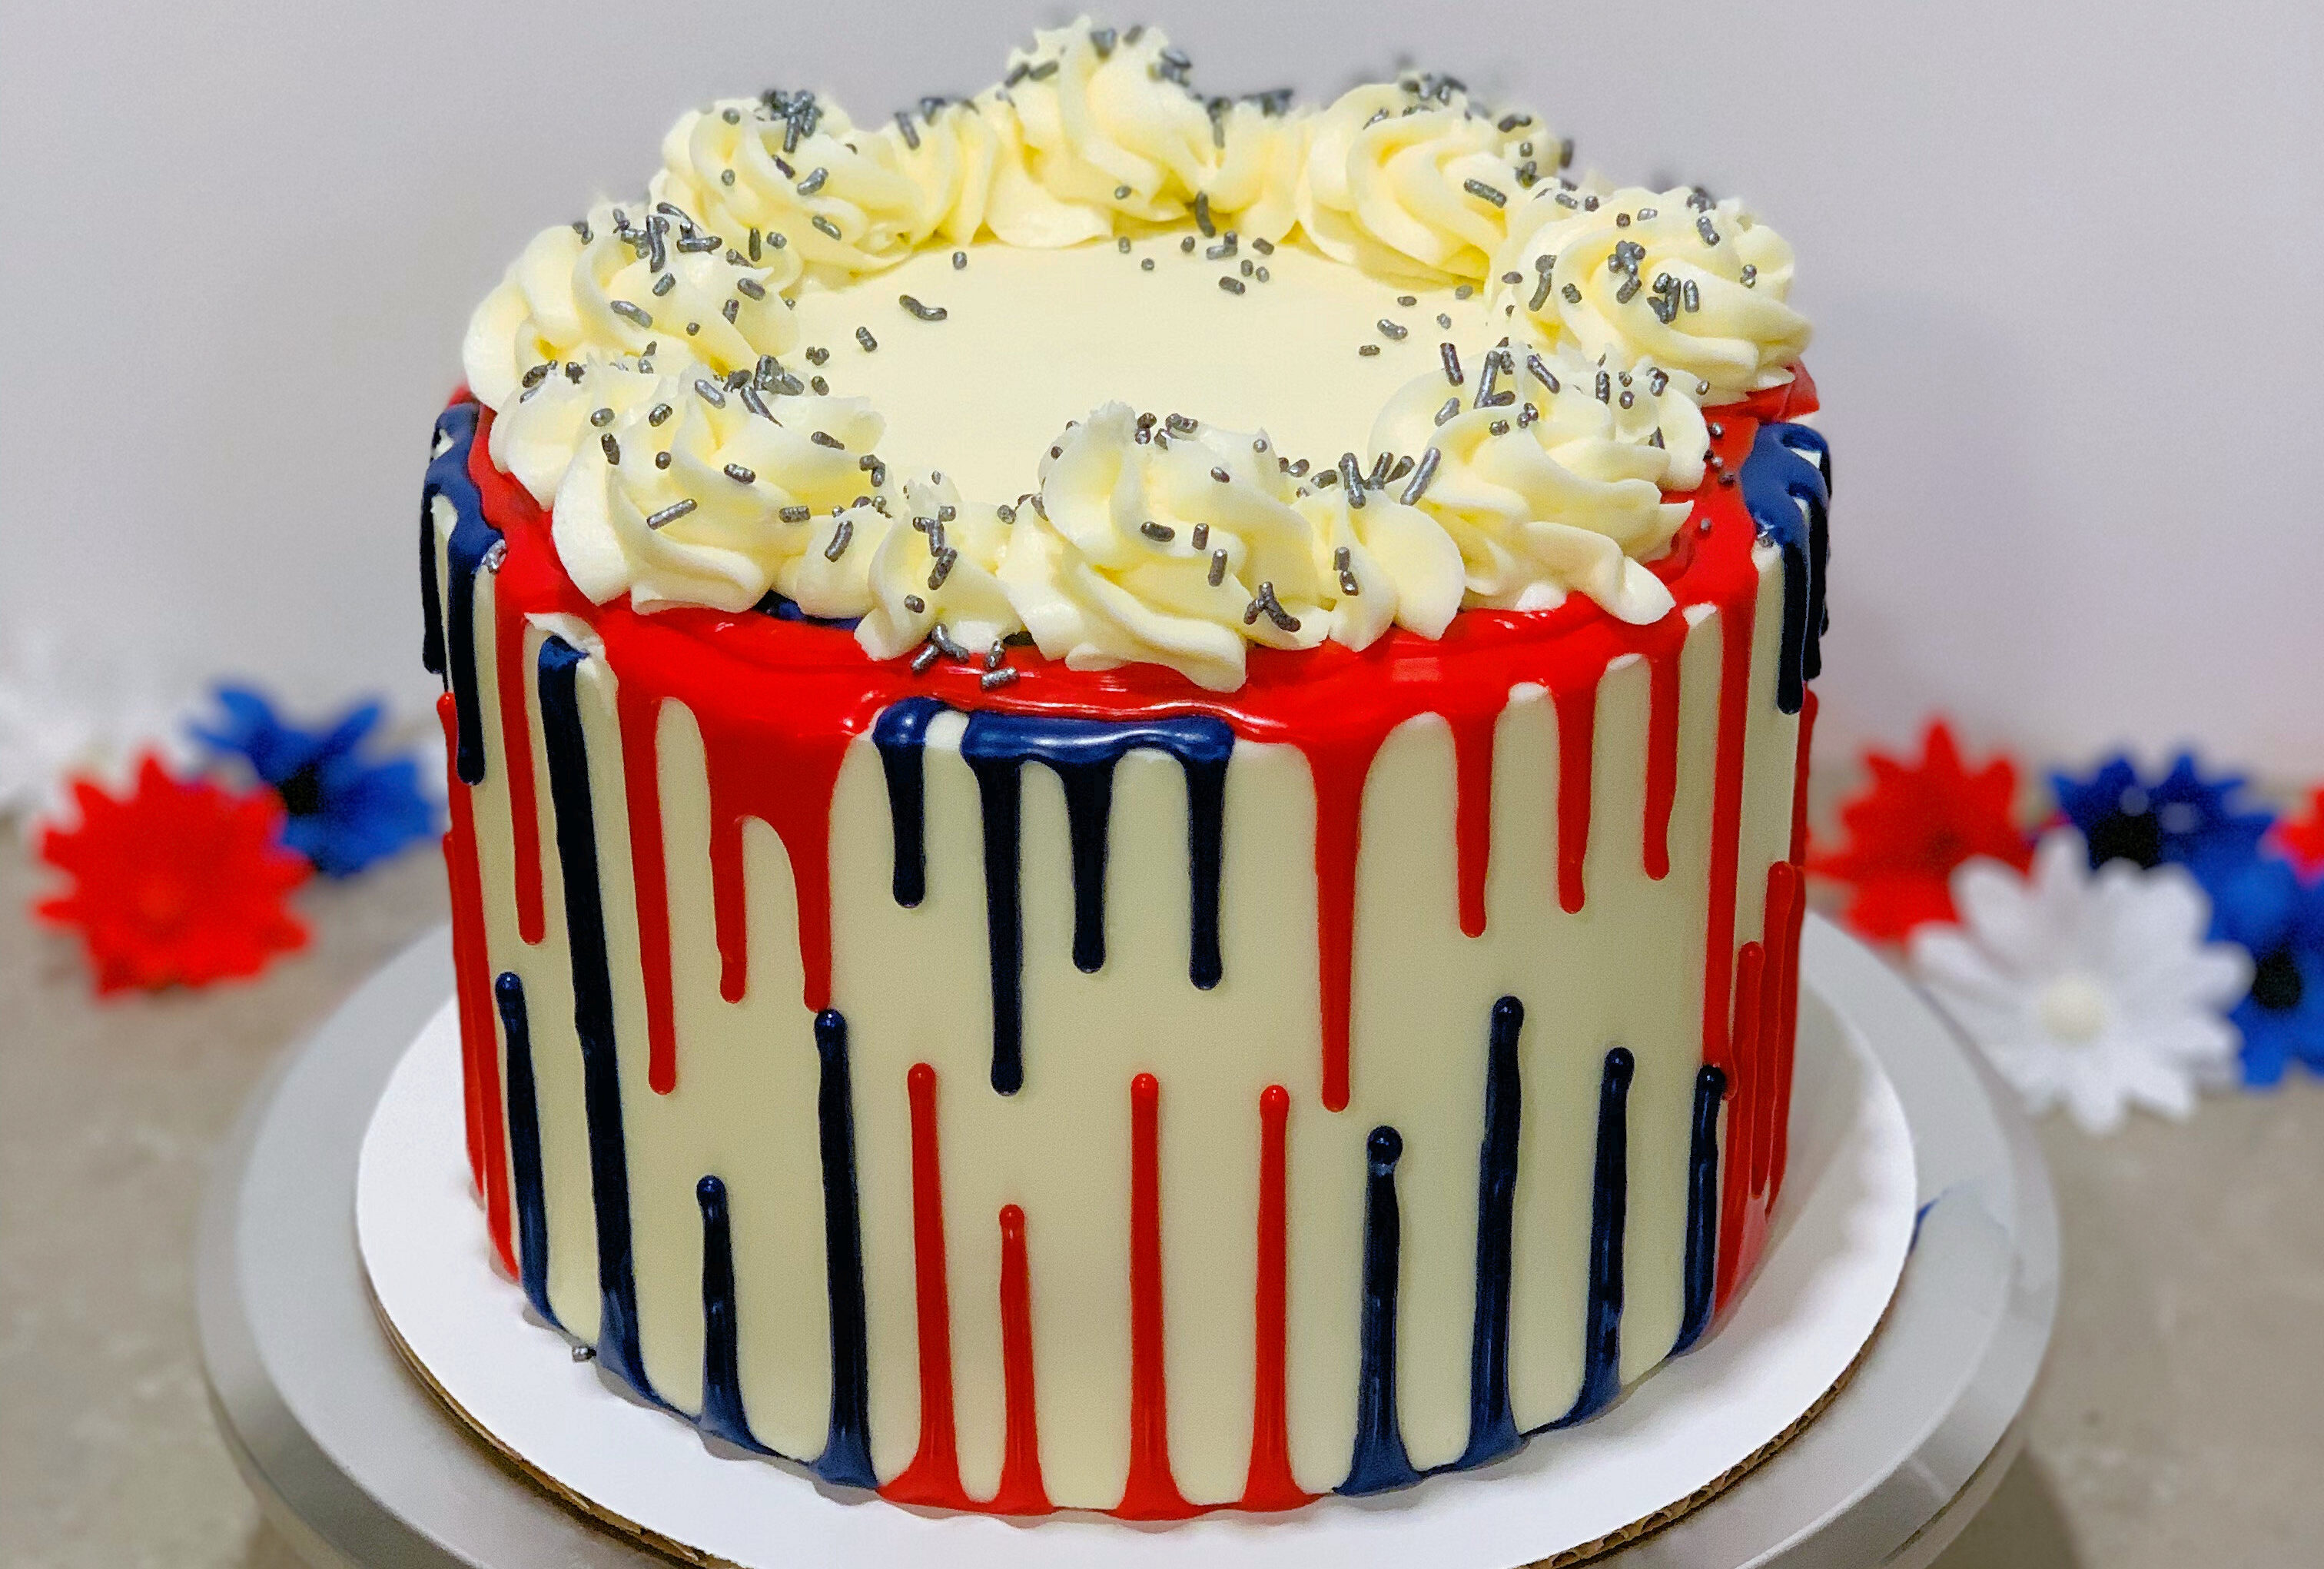
Red Velvet White & Blue Cake
Sometimes Red Velvet doesn't get enough credit! This Red Velvet White & Blue Cake made a delicious, fun, and super easy 4th of July dessert!
Servings: 16 servings
Calories: 743kcal
Equipment
- large offset spatula (for spreading frosting)
- cake scraper or pastry cutter (for smoothing frosting)
- large piping bag + star tip (linked is a set that contains both)
Ingredients
Red Velvet cake layers
- 2 ¾ cups all-purpose flour
- ½ cup unsweetened cocoa powder
- 3 cups granulated sugar
- 2 ½ teaspoon baking powder
- 1 teaspoon salt
- 1 cup unsalted butter (or 2 sticks, room temperature)
- 1 cup egg whites (about 7 large egg whites, or use egg whites from a carton to avoid wasting the yolks)
- 1 1/2 cups buttermilk (room temperature)
- 1 Tablespoon vanilla extract
- 2 Tablespoons vegetable oil
- Red gel food coloring (I used a few tablespoons of Americolor Super Red; you can use as much as you’d like to get the shade of red that you’re after!)
Cream Cheese Buttercream Frosting
- 6 ounces cream cheese (¾package; softened)
- ¾ cup butter (1 ½sticks, softened)
- 5 cups powdered sugar
- 1-2 Tablespoons milk
- 2 teaspoons clear vanilla extract
- ¼ teaspoon salt if using unsalted butter
- 5-6 large drops Navy blue gel food coloring (save and add later; color the remaining frosting to decorate after the cake is frosted)
Decorations
- Red, White, & Blue sprinkle mix (I used a discontinued mix, but ‘Old Glory’ by SprinklePop is very similar and available on Amazon!)
Instructions
Red Velvet cake layers
- Preheat oven to 350°F. Prepare three 8 inch round pans with baker’s floured spray (or grease and line with parchment rounds).
- Mix together all dry ingredients (flour, cocoa powder, sugar, baking powder, and salt) in a stand mixer with a paddle until fully combined.
- Mix chunks of room-temperature butter slowly into the dry mix, on a low speed. Continue to mix until no large chunks of butter remain, and the mixture becomes crumbly.
- Pour in egg whites, and mix until just incorporated. Mix in the buttermilk on a low speed. Add in vanilla, oil, and gel food coloring, and mix at a low speed until fully incorporated. Scrape down the sides of the bowl with a spatula, then beat on medium high for about 30 seconds.
- Divide batter evenly between the prepared cake pans (I find a kitchen scale helpful for this part). This guarantees your layers will bake to be the same height.
- Bake for 34-37 minutes (or until a toothpick comes out clean). Allow cake layers to cool for 10-15 minutes on a wire cooling rack before removing from pans. Cool completely before frosting. Set in the fridge or freezer to accelerate the cooling process if desired. (This is a great time to make your frosting!)
Cream Cheese Buttercream Frosting
- Beat together softened cream cheese and butter; slowly add in powdered sugar alternating with milk until frosting reaches desired consistency. Add vanilla and salt if needed and beat until well combined.
Assembly
- Once your cakes are cool, level them (if needed). This can be done with a cake leveler or a large serrated knife and a ruler. These cake layers bake fairly flat though; I didn’t trim much from the tops.
- Place a smear of frosting on your cake circle (to keep the cake from sliding while you decorate it) and center your first cake layer in the center of the circle. Spread the layer with frosting, and add the next layer on top. Repeat the process with your remaining cake layers.
- Now you’re ready to crumb-coat . If you’re unfamiliar with crumb-coating, it’s just what it sounds like – spreading a thin layer of frosting over the entire outside of the cake to keep crumbs out of your final layer. I usually do this with my large offset spatula.
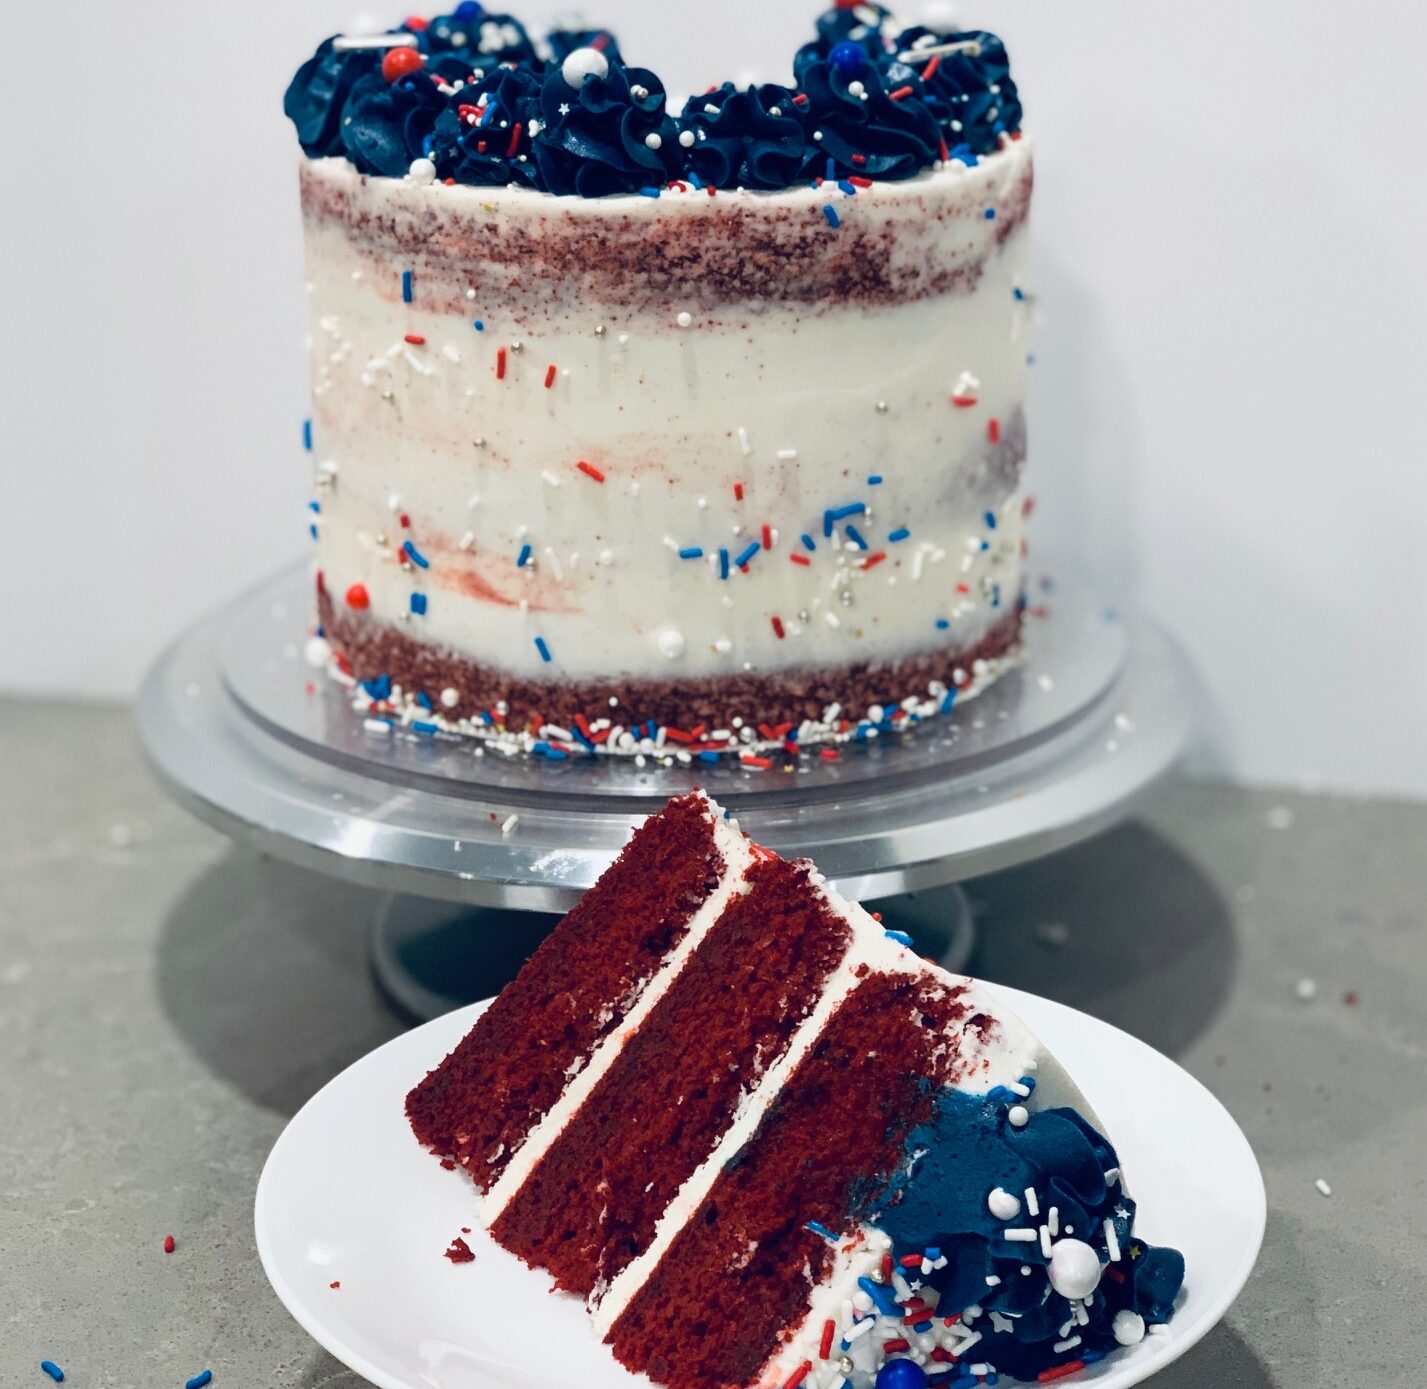
- Once your crumb coat has set (this takes about 5-10 minutes in the fridge), add your final layer of frosting and smooth. I like to use a large offset spatula and pastry cutter/bench scraper for this part, and I made this layer fairly thin for a ‘semi-naked’ cake look. I wanted the red of the red velvet to show!
Decorating
- Add your navy gel color to your remaining frosting. (A mix of royal blue, black, and a tint of purple makes a good navy shade if you have those colors!)
- Transfer colored frosting to a large piping bag fitted with a large star tip (most similar to Wilton’s 1M in my set), and pipe large swirls around the top of the cake. I find it easiest to space 4 swirls at quarter intervals at first and then fill in between them.
- Add sprinkles to your liking – I started with larger ones on top of the frosting swirls and then added smaller ones to the swirls and the top of the cake, and added a sprinkle rim to the base.
- I thought the sides looked just a little plain, so I added some smaller sprinkles to the sides – you can do this with a Crisco-coated finger or by just ‘throwing’ them at the cake! Either works but somehow the second one’s more fun!
- Annnd you’re done! High-five yourself – and enjoy the holiday!
Video
Notes
(Please note nutrition information is an estimate, and may not be exactly accurate. Counts for all fields will be lower if the full batch of frosting is not used.)
Nutrition
Serving: 1slice | Calories: 743kcal | Carbohydrates: 98g | Protein: 9g | Fat: 35g
Mentioned in post: Cream Cheese Buttercream Frosting
Did you make this Red Velvet White & Blue cake?
Let me know how it went – or find me on Pinterest or on Instagram and tag @IntensiveCakeUnit in your photo!
You can also add a comment or a recipe rating at the bottom of the page! 🙂
Other recipes you may love…
(Click / tap the photos to be taken to the recipe pages!)