Can I make my own wedding cake?
Should I make my own wedding cake?
(What are the pros and cons?)
(And what are my options if I don’t want to pay a bakery $300-700 for a cake?)
(average price per Weddingwire.com)
Those are all awesome questions! And I’ll do my absolute best to answer all of them.
Short answer – it depends! On several things.
I’ll make a quick list here, and get into more details on all of these points below.
If you’d prefer to watch / listen rather than read, here’s a Youtube link to a super-fast overview of the ‘pros/cons’ and a tutorial for the cake assembly!

A homemade wedding cake could work really well for you IF...
Your wedding day (and the week or so prior) will be low-key & not very busy
You have some time to do a ‘practice run’ cake ahead of time
You already have some cake decorating supplies and / or cake decorating experience
You don’t have a large cake budget (or a wedding budget in general)
Your ideal cake style is a bit on the not-perfectly-polished or rustic side (unless you have a lot of decorating experience!)
(You don’t have small children – or DO have people to help with childcare)
Or – and this might be the most ideal scenario – you have someone who can take on some or all of the work for you!
So on the flip side – making your own cake might NOT be a great idea if -
Your wedding day (and the week before) are going to be very full and busy, without much unscheduled time.
You don’t have time to do a ‘practice run’ cake ahead of time
You don’t have cake decorating supplies or experience
You have a large enough budget to include a wedding cake – or are flexible on what type of dessert to serve (https://www.bpl.org/blogs/post/the-thrifty-wedding-cake/)
Your ideal cake style is very professional and polished
(You have small children at home – and don’t have people available to help with childcare)
You don’t have anyone who can take on any of the work if you start to run out of time.
So let’s break these down one at a time and get into more details.
A DIY wedding cake might be a great fit for you IF...
Your wedding day (and the week or so prior) is going to be low-key / not very busy.
If you have a very simple, low-frills wedding planned, this will help to allow you the time that you’ll need to make a homemade wedding cake. If you’ve never made a wedding cake / tiered cake before, they can be time-consuming. This is especially true if you have a specific design you really want to nail!
In addition to the hands-on time involved (making cake layers, frosting, and any fillings, layering the cakes, crumb-coating / frosting, doweling and stacking the tiers if you make a tiered cake, decorating, boxing the cake for transport) – there’s also some hands-off time for things like allowing the cake layers to cool / chill, letting the crumb coat sit, etc. If you have plenty of time available – not a big deal. If your wedding day / week looks busy already – adding a cake to the list could be super stressful.
You have some time to do a ‘practice run’ cake ahead of time.
This doesn’t necessarily need to be EXACTLY like what you plan to do for the wedding cake – but having your recipes ‘road-tested’ and an idea of how much time baking + assembling is going to take will be SO helpful when you go to tackle the real thing. Obviously you can’t plan for every variable, but making sure the whole thing doesn’t fall apart as you go to assemble it can save you the stress of having to come up with a last-minute wedding dessert plan.
You already have some cake decorating supplies and / or cake decorating experience.
Cake decorating supplies can be expensive – this is especially true in the last few years. You might be surprised at the supplies you need to make and stack a structurally sound tiered cake – and the costs can add up, eating into the budget margin you’d gain by making your own cake while still costing you time, effort, and possibly stress. But if you already have all the supplies – like I did when I made my most recent wedding cake – my supply cost was only about $65. It was amazing.
On the decorating experience side – it definitely helps if you already have some cake decorating experience. Cakes can also be finicky. As a hobby baker for 6+ years as I draft this post, I’ve had more cakes than I care to count NOT turn out the way I wanted them to. To a hobby baker this isn’t a big deal, but a wedding cake involves a little bit more pressure. I can give you recipes that have a good change of holding up to the stability demands of a wedding cake, and it helps if you have baking experience or will have some time to recipe-test and practice ahead of time.
You don’t have a large cake budget (or a wedding budget in general)
While I do need to briefly reference the above bit on cake decorating supplies, making a cake yourself (or having a friend make it for you) can save you a TON of money. I charged about $90 for the last wedding cake I made, and I did charge for my time. Home bakers don’t need to cover the overhead costs that professional bakeries do, and our prices (often) reflect that.
Your ideal cake style is a bit on the not-perfectly-polished or rustic side (unless you have a lot of decorating experience!)
It hasn’t happened yet, but the day I have someone come to me requesting an elaborate perfectly-done immaculately-assembled cake I will probably send them on to a professional who can reliably pull that look off. I’ll attach pictures of the wedding cakes I’ve done at the bottom of this post and you can see for yourself – they’re almost all done with textured icing that doesn’t show small flaws or irregularities. Most home bakers just don’t have the hands-on time to develop the skills to get perfectly smooth flawless finishes on our cakes – and that’s okay, as long as you’re okay with it.
(You don’t have small children – or DO have people to help with childcare)
CAN you DIY your cake if you have small kiddos? Absolutely. But it helps to be aware of the limitations and liabilities. I did 5 of my 6 wedding cakes before I had kids. My most recent wedding cake prep and assembly had to be planned around the schedules of my 1- and 3-year-old kids. It was many times more stressful than the other five cakes! I had many unplanned interruptions. I had some less-than-helpful 'help' from my 3-year-old. My 1-year-old almost knocked a display board I was using to take photos over onto the finished cake. I just put this out there as food for thought – line up some help with childcare if you can!
Or – and this might be the most ideal scenario – you have someone who can take on some or all of the work for you!
As the ‘friend’ who has made several wedding cakes for friends / family, it is a HUGE blessing to them! Homemade wedding cakes are massive budget-savers and it’s such a special touch to have a wedding cake hand-made by a friend or family member!
So – now that we’ve covered all that –
if a homemade wedding cake sounds like a good fit for you, read on!
My favorite cake and frosting recipes that I used for the cake in the photos + video are below, along with full assembly instructions and a video tutorial!
(One quick final disclaimer! I did NOT personally make my own wedding cake, since I didn’t know a thing about cake decorating at the time. (I paid a friend of mine to make ours.)
That said, I HAVE made 6 wedding cakes for friends and family, including weddings I was involved in – so I've learned a couple things about what to do and what not to do!)
Below is a recipe for an Easy Homemade Wedding Cake - one that's simple to make and decorate whether you have cake experience or not!
The vanilla cake recipe below makes enough for both an 8-inch and a 6-inch tier. It's rich and delicious, and has a close enough texture to withstand the demands of being a wedding cake (transportation and sitting at room temperature for several hours).
My standard-size Kitchen-aid mixer bowl was large enough to make the batter for both tiers in one batch, so that’s the recipe I’ve included below!
I made a double batch of frosting to ensure I’d have enough. A 1.5x recipe might have been enough – I had frosting left over – but I’d recommend the recipe below to be on the safe side. (12 oz cream cheese, 3 sticks of butter, and 8-9 cups of powdered sugar would be the quantities for a 1.5x recipe.)
Congratulations if you made it this far into the post! Read on for the recipe!
Don't forget to pin this post and recipe for later!
(Disclosure: As an Amazon associate I may earn from qualifying purchases, and my posts often contain affiliate links. If you click a link and make a purchase, I may receive a commission at no extra cost to you!)


Easy Homemade Wedding Cake
Equipment
- Kitchen scale (optional, but recommended)
- 10-inch cake board (or decorative cake drum)
- 6 inch cardboard cake circle (I recommend one with a hole in the center)
- 5-10 Cake dowels or large plastic straws
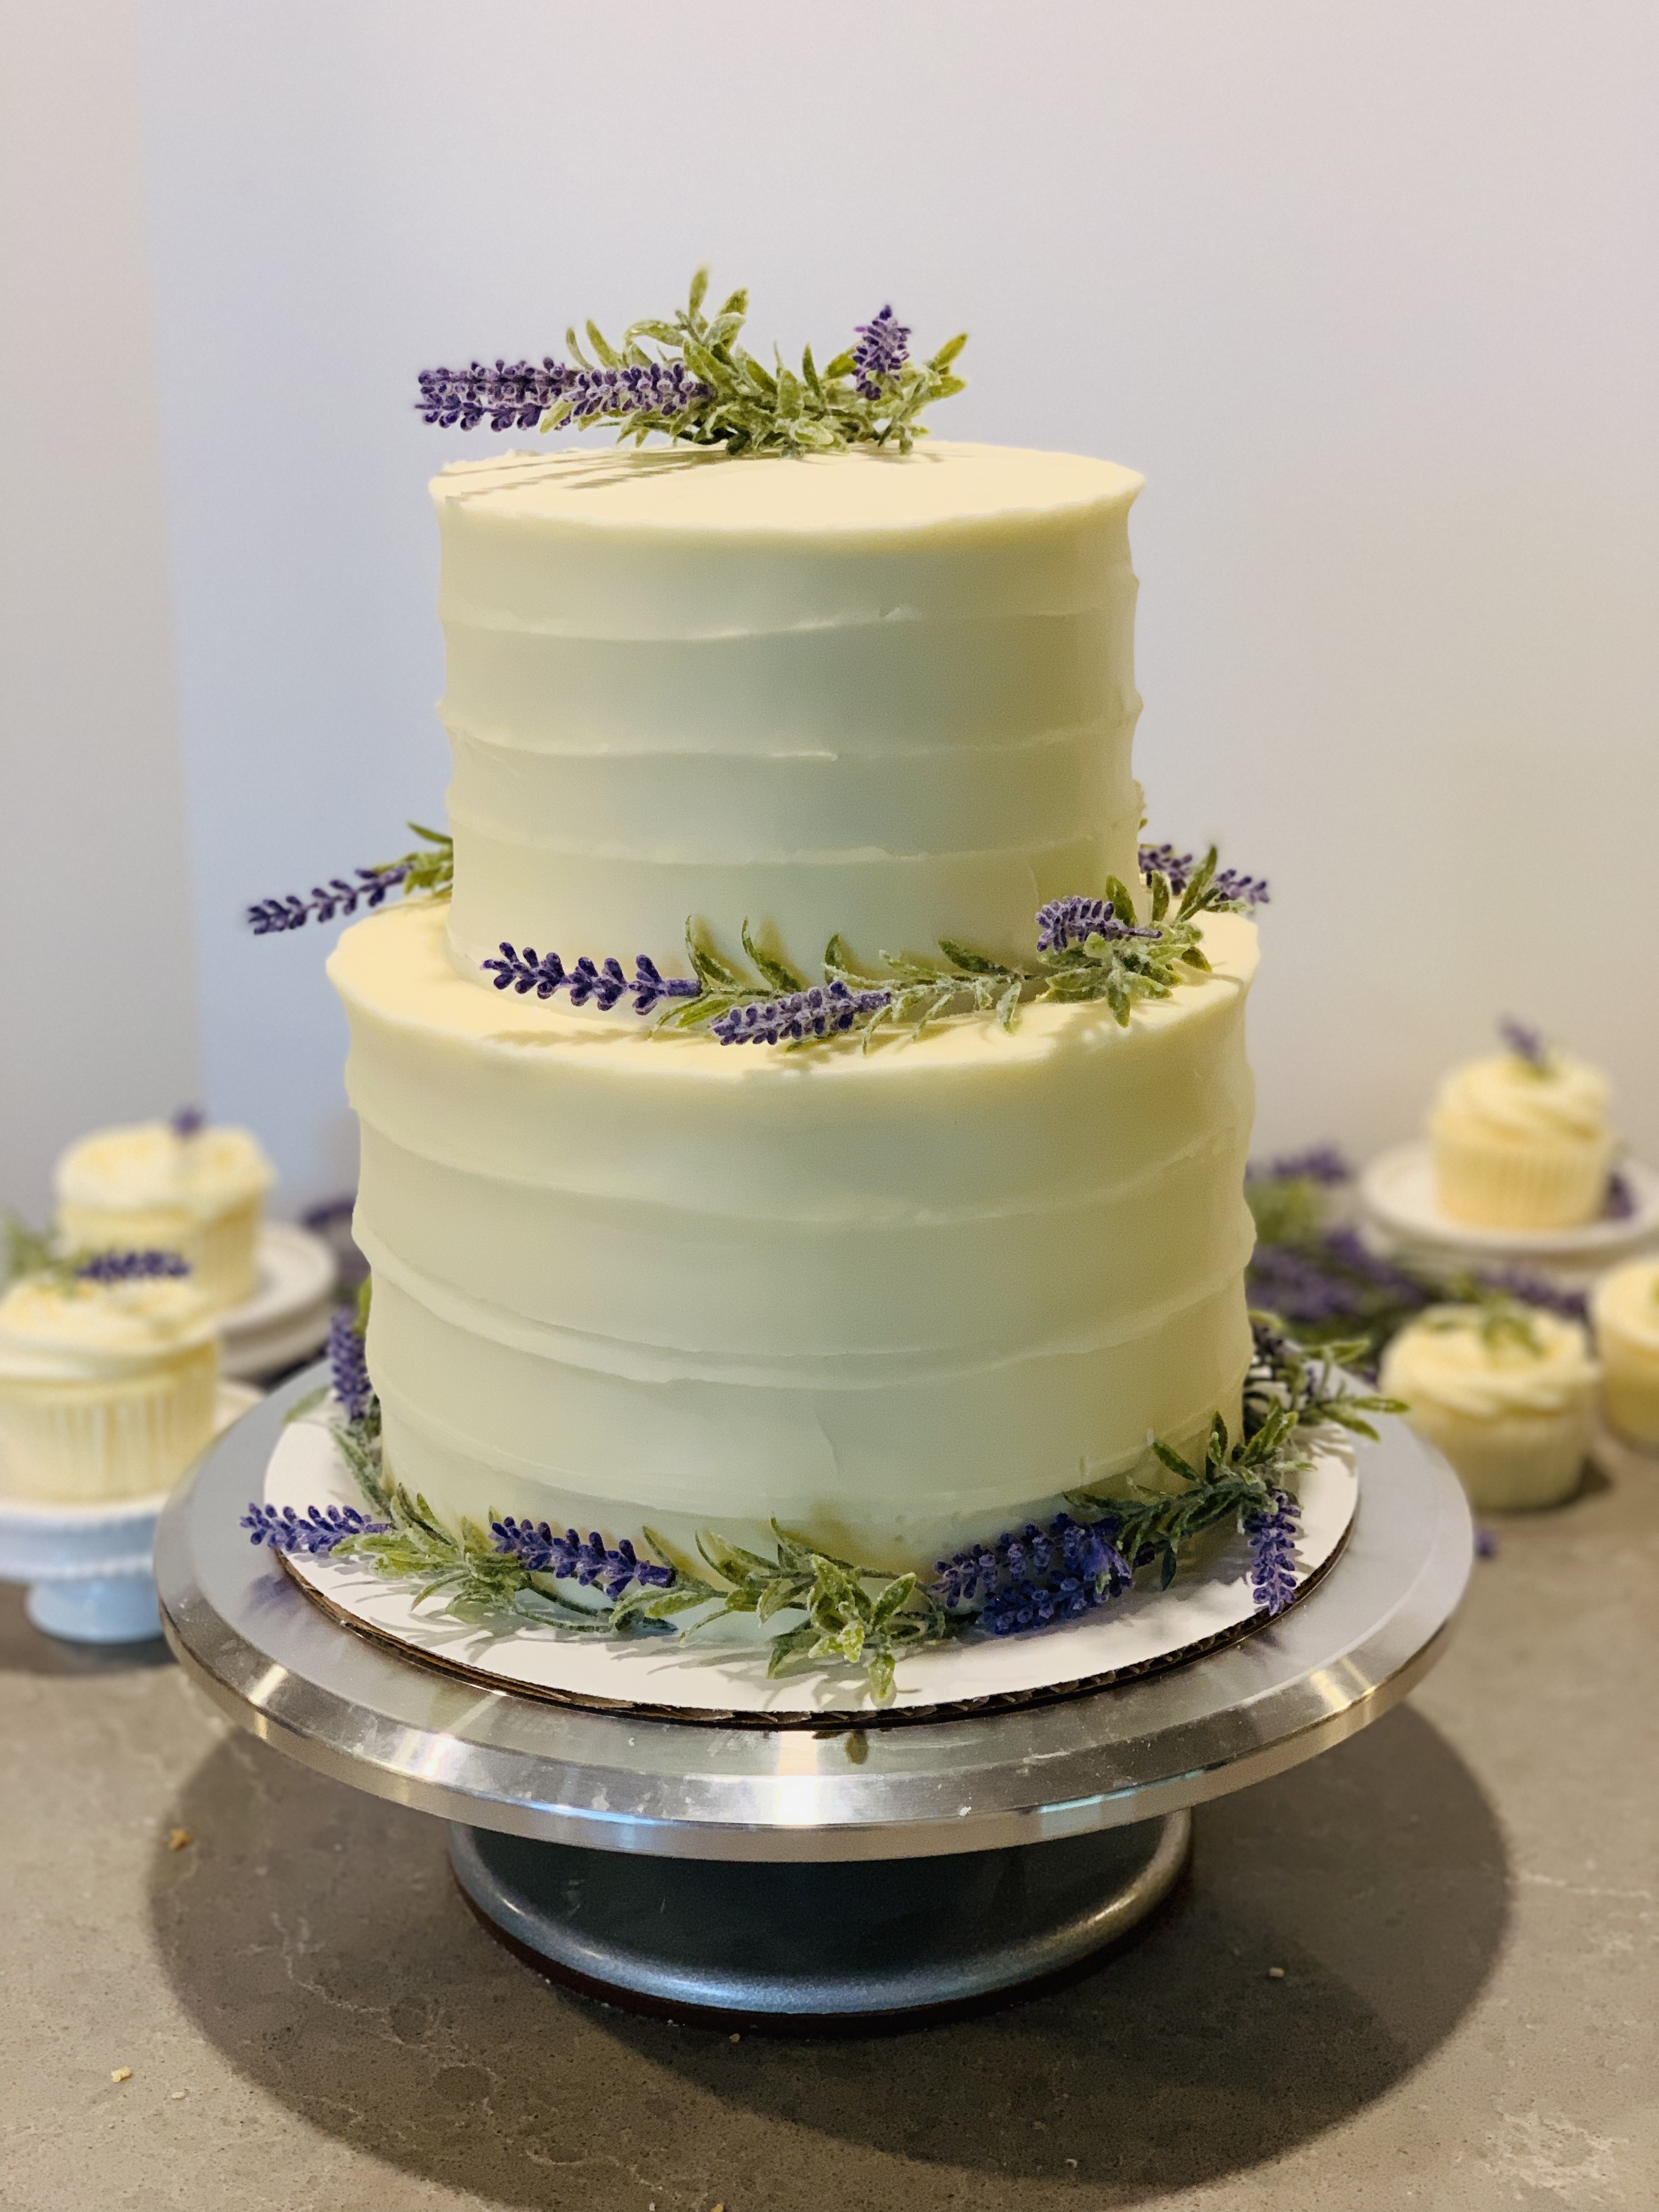
- Nontoxic or silk flowers (optional; for decorating - I used silk roses, eucalyptus, and baby's breath for the cake in the photos / video.)
Ingredients
White Vanilla Cake Layers
- 5 cups all-purpose flour
- 4 ¾ cups granulated sugar
- 3 ¾ teaspoons baking powder
- 1 ½ teaspoons salt
- 1 ½ cups unsalted butter or 3 sticks, room temperature
- 8 eggs
- 2 ¼ cups buttermilk (room temperature)
- 2 ½ teaspoons clear vanilla extract
- ⅓ cup vegetable oil
Cream cheese buttercream frosting
- 16 ounces cream cheese (2 packages; softened)
- 2 cups unsalted butter (4 sticks; softened)
- 11-12 cups powdered sugar
- 1 Tablespoon clear vanilla extract
- 1 Tablespoon frosting whitener (optional)
- 1 Tablespoon corn syrup (optional, but helps keep frosting from 'crusting' which will help when texturing)
- 2-3 Tablespoons heavy whipping cream (if needed)
Instructions
White Vanilla Cake Layers
- Preheat oven to 350°F. Prepare three 8-inch cake pans and three 6-inch round pans with baker's floured cooking spray, or grease and line with parchment rounds.
- Mix together all dry ingredients (flour, sugar, baking powder, and salt) in a mixing bowl (or stand mixer with a paddle) until fully combined. Mix chunks of room-temperature butter slowly into the dry mix, on a low speed. Continue to mix until no large chunks of butter remain, and the mixture looks crumbly.
- Pour in eggs and mix on low until just incorporated. Mix in the buttermilk in two parts, on a low speed. Add in vanilla and oil, and mix on low until fully incorporated. Scrape down the sides of the bowl with a spatula, then beat on medium speed for about 30 seconds.
- Divide batter evenly between prepared pans. (I recommend using a measuring cup or kitchen scale to keep the batter amounts even. I added 650 grams of batter to my 8” pans, and 325-350 grams in each of my smaller pans. Measuring the batter guarantees your layers will bake to be the same height.)
- Bake for 34-37 minutes, (or until toothpicks comes out clean). Allow cake layers to cool for 10-15 minutes on a wire cooling rack before removing from pans. Cool completely before frosting. Set in the fridge or freezer to accelerate the cooling process if desired. (This is a great time to make your frosting.)
- Once the layers have fully cooled, they can be leveled and any caramelized bits can be trimmed from the sides / top of the cake using a serrated knife if desired. (Be sure the layers are completely cooled or chilled before trimming; if layers are cut while still warm they may crumble or break.)
Cream Cheese Buttercream Frosting
- Beat together softened cream cheese and butter; slowly add in powdered sugar alternating with vanilla and whitener until frosting is even and lightened. Decease beater or mixer speed to low. Add whipping cream if needed for a thinner consistency, and beat until well combined.
Assembly
- Place a smear of frosting on your large cake circle or cake drum (to keep the cake from sliding while you decorate it). Center the first 8-inch cake layer in the center of the circle. Spread the layer with frosting. Add your next cake layer on top, and repeat the process with your remaining 8-inch cake layers.
- Next, repeat the same process with your smaller cardboard circle and cake layers. Of note – if your 6-inch circle isn't pre-center-punched, be sure to grab a dowel or straw and knife and make your own hole in the exact center of the circle! This will allow you to center the tier on the base tier later on.
- Now you're ready to crumb-coat . If you're unfamiliar with crumb-coating, it's just what it sounds like – spreading a thin layer of frosting over the entire outside of the cake tiers to keep crumbs out of your final layer.
- Once your crumb coats have set (this takes about 10-15 minutes in the fridge), add a final layer of frosting to the 6-inch cake tier and smooth. Since I was texturing the frosting, I didn't worry too much about getting the sides perfectly smooth. (For the 6-inch cake, I find trimming the layers just smaller than the cake circle and using the cardboard as a guide for my cake scraper to work well.) Chill in the fridge 10-15 minutes before texturing the frosting.
Texturing the frosting
- (I was a bit over-cautious with how I approached this step - I probably didn't *need* to mark the angle of the texturing with my bench scraper before I started texturing - but it's a quick step that ensures your texturing will all follow roughly the same line.) If you're feeling cautious, hold a cake scraper steady and press it lightly into the frosting at 2-3 inch intervals around the cake to mark the line to follow when texturing with an offset spatula.
- Gently press the end of a small offset spatula into the frosting - beginning from either the base or the top - and drag the spatula toward the center of the cake tier. Repeat around the tier until the frosting looks
Stacking the tiers
- Here's the 1-minute video guide I made for this part - once the cake tiers are frosted, stacking them is actually really simple!
- ‘How to Make a Tiered Cake’ by Chelsweets is a bit longer video tutorial – we do things a touch differently, but sometimes seeing the process can be very helpful!
- (Basically, doweling a tiered cake is done to ensure that the top tier doesn’t crush the lower tier, as well as keeping it centered. I used four shorter cut-to-height plastic straws for my base tier dowels, and one taller one cut at an angle in the center to hold my top tier in place.)
- Grab your ruler for this next part! To center a 6-inch cake on top of an 8-inch cake, push the straws down into the base tier just over one inch from the cake edge, placing them evenly at quarter intervals around the cake. Place your last, tallest straw or dowel into the exact center of the cake, making sure to keep it straight up as you press down.
- Now you’re ready – center the hole in the bottom of your top tier cake circle over the tallest dowel and let the top tier gently down onto the base tier. The dowel will poke into the center of the top tier to hold it in place.
Decorating
- Not much left to do! Decorate with food-safe or artificial flowers - (per request) I used two pink roses, a spray of eucalyptus leaves, and small bunches of baby's breath between the top and base tiers. Scroll to the bottom of the post for a few other decorating ideas if you'd like!
- And that's it - you're DONE! Find someone to give you a high-five, and congrats on your amazing cake!
Video
Notes
Nutrition
If you enjoyed this post and recipe -
Please consider leaving a recipe rating or a comment below - this really helps other people find it too!
If you have any questions or information you think I should add to this post, please email me!
Other wedding cake recipes / ideas you may love...
(Click / tap the photos to be taken to the recipe pages!)