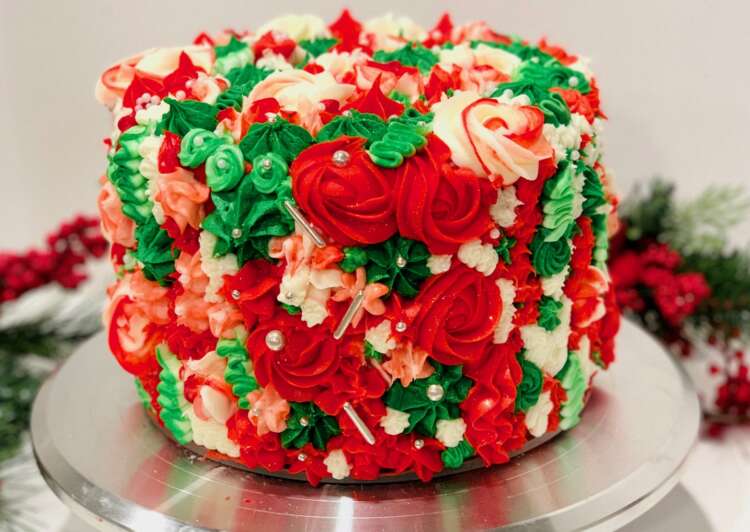
Christmas Color Cake
“Do the best you can until you know better. Then, when you know better, do better.” – Maya Angelou I recently […]
“Do the best you can until you know better. Then, when you know better, do better.” – Maya Angelou I recently […]
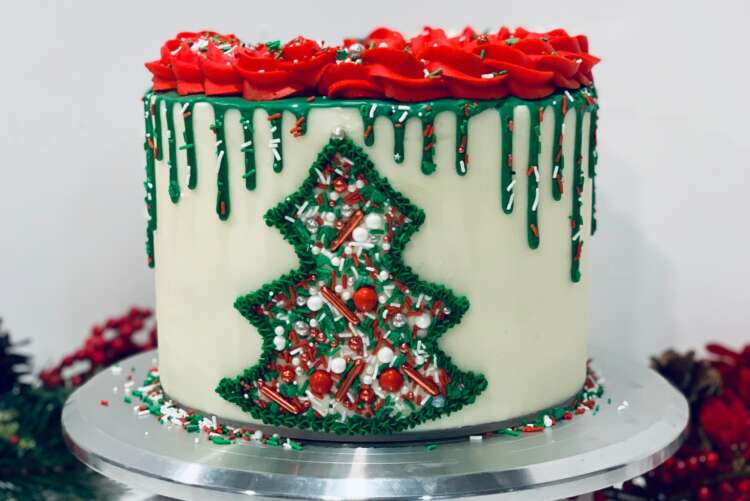
When I first saw a ‘sprinkle stencil’ cake…I wanted to try one of my own! I couldn’t believe how simple

After my first encounter with the ‘Candy Cane cocktail’……I was obsessed! And four years later I’m STILL obsessed with it

Can you find ANY candy more Christmas-y than candy canes? HOW my 3-year-old remembers candy canes from three quarters of a