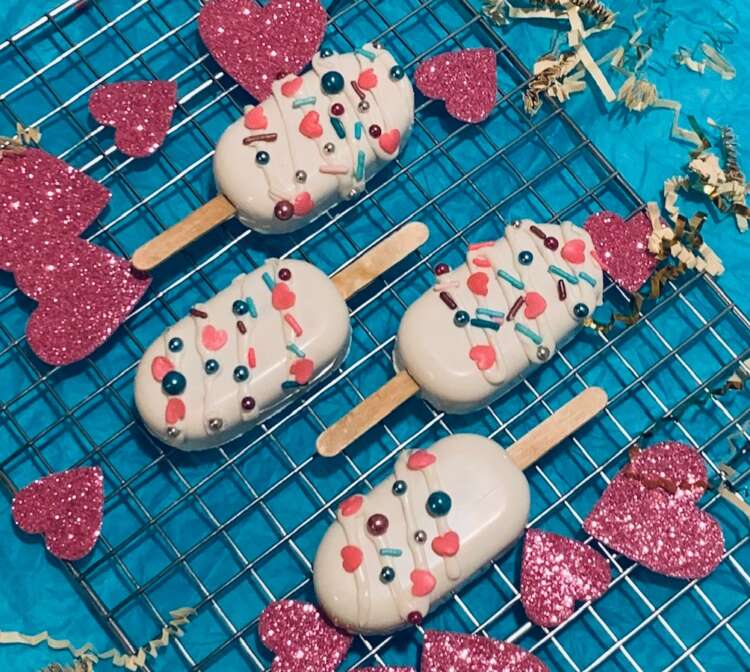
Valentine's Day Cakesicles
Have you heard of cakesicles? They’re basically the cake pop’s cooler cousin! Cakesicles are a cake + frosting mixture inside a […]
Have you heard of cakesicles? They’re basically the cake pop’s cooler cousin! Cakesicles are a cake + frosting mixture inside a […]
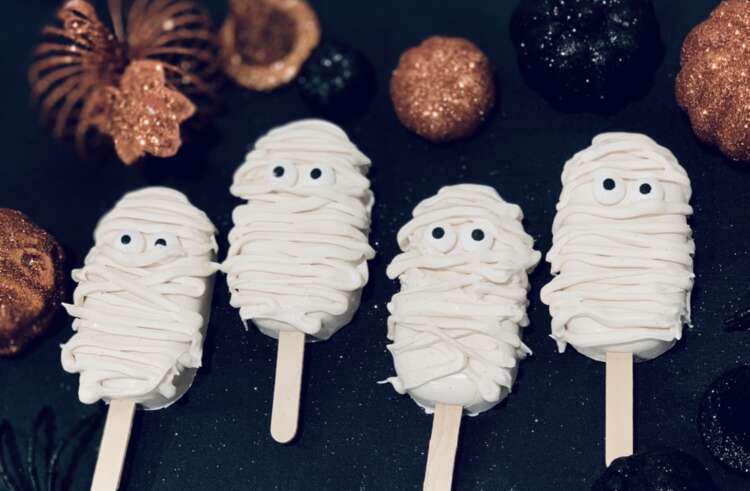
Meet the cool cousin of the cake pop – the cakesicle!These Mummy cakesicles make a fantastic no-mess dessert for Halloween