
Don't forget to pin for later!


Bumblee Ice Cream Cake
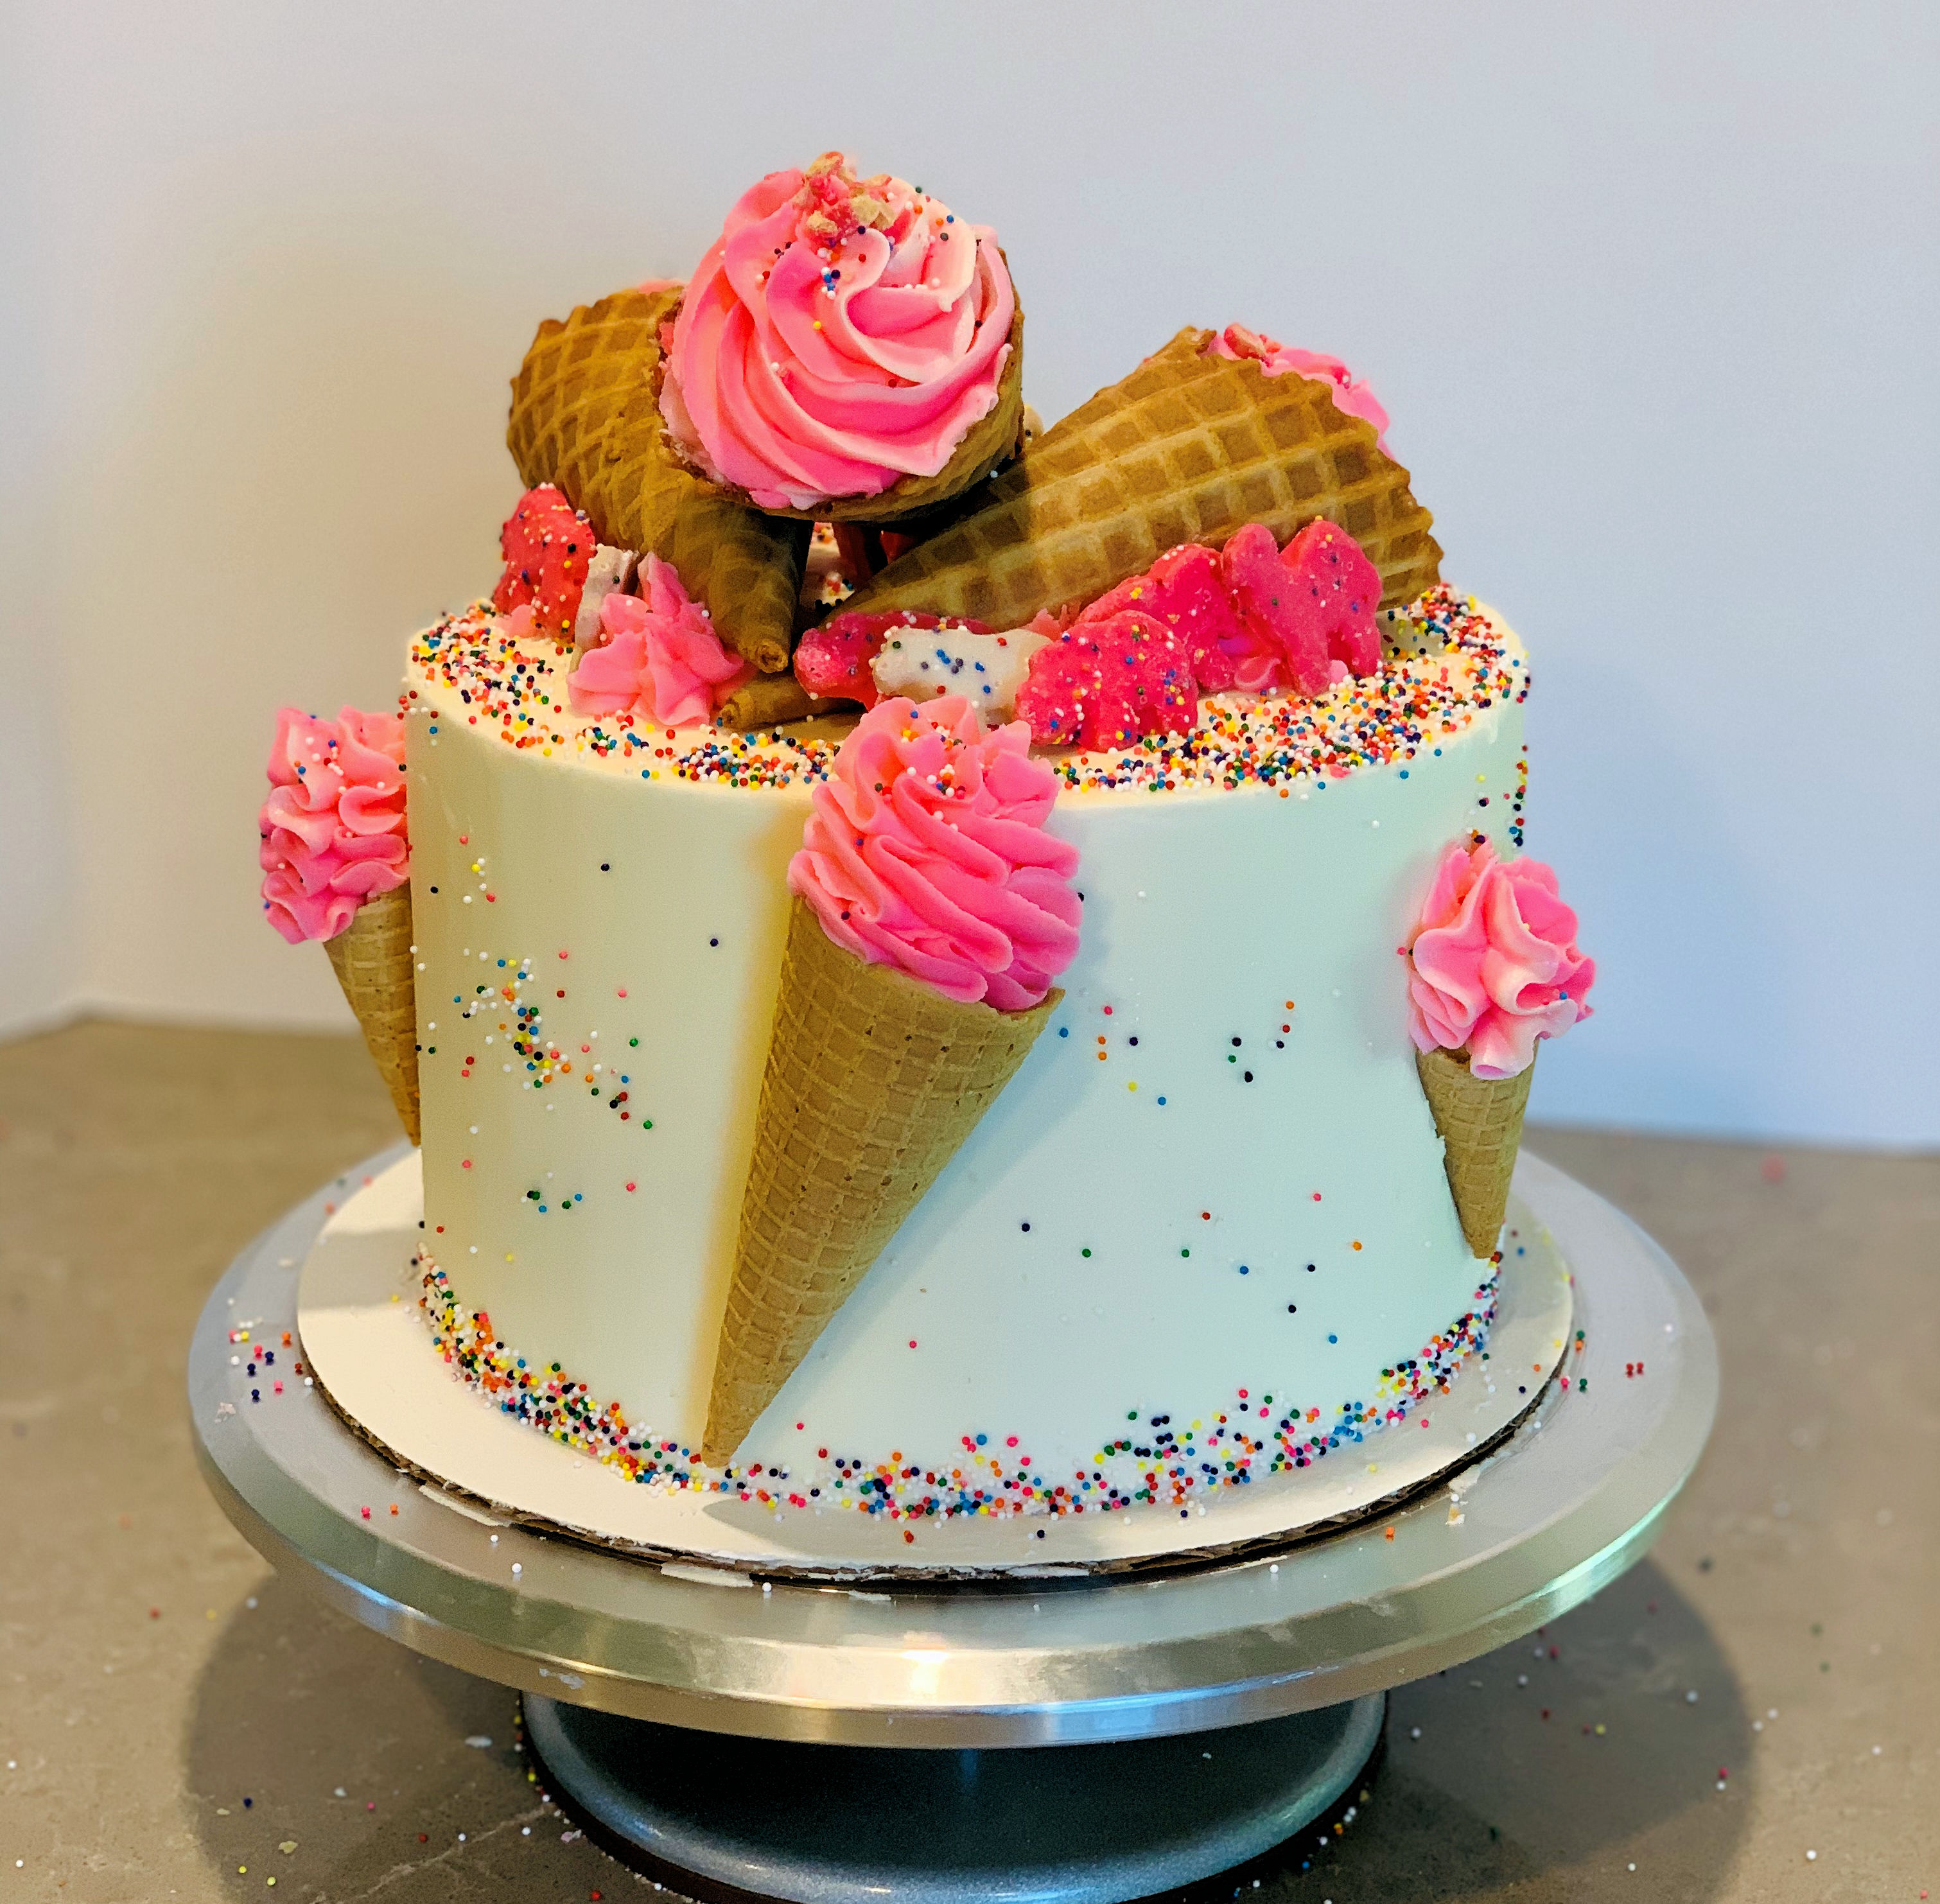
Summer coming on...and what's a better fit for summer than an ice cream cake? Here's a 'no-ice-cream-maker required' Bumblebee Ice Cream Cake!
Servings: 16 servings
Calories: 548kcal
Equipment
- 3 sheets plastic wrap (to line pans before filling with ice cream)
- small piping bag + small round tip (linked is a set that contains both)
- teardrop piping tip (for flowers) (or you can purchase premade decorations like these daisies)
- 18-24 inches gold craft wire (optional; for decorating)
Ingredients
Bumblebee Ice Cream Cake layers
- 1 chocolate cake mix (I like Duncan Hines)
- ½ cup butter (melted and cooled)
- 1 ¼ cup buttermilk
- 4 eggs
Ice cream layers
- 1/2 gallon vanilla or cookies n cream ice cream
- 1-2 drops yellow gel food coloring (optional)
Cream Cheese Buttercream Frosting
- 8 ounces cream cheese (one package, softened)
- 1 cup butter (two sticks, softened)
- 6 cups powdered sugar
- 2-4 Tablespoons milk
- 1 Tablespoon clear vanilla extract
- 1/4 teaspoon salt (if using unsalted butter)
- 1-2 drops yellow gel food coloring
Decorations
- 4 ounces Yellow fondant (for bee decorations - or you can purchase them premade online)
- 2 ounces White fondant
- 2 ounces Black fondant (or black gel food color + food-safe paintbrush)
- 1-2 ounces water (to help adhere fondant pieces together)
- 2-3 drops Black gel food color (for dotted lines between bees and flowers)
Instructions
Cake layers
- Preheat oven to 350°F. Prepare two of your 8 inch round pans with baker's floured cooking spray, or grease and line with parchment rounds.
- Beat cake mixes with butter, buttermilk, and eggs with a mixer or wire whisk until blended. Scrape down the bowl with a spatula and beat for another 2 minutes. Pour batter evenly into pans – I find a kitchen scale helpful to ensure the layers are the same thickness.
- Bake for 16-23 minutes until a toothpick inserted in the center comes out clean. Cool 10 minutes on cooling rack before removing from pans, and then cool completely before adding ice cream. (This is a great time to make your frosting and decorations!)
Cream Cheese Buttercream Frosting
- Beat together softened cream cheese and butter; slowly add in powdered sugar alternating with milk until frosting reaches desired consistency. Add vanilla, salt if needed, and food coloring and beat until well combined.
Ice cream layers
- When your cake layers have cooled, you’re ready to make and freeze your ice cream layers. Place a layer of plastic wrap in the base of all 3 cake pans, and place cooled cake layers into two of the pans (over the plastic wrap).
- Soften ice cream just enough that it can be scooped and spread. I added white ice cream on top of my 2 cake layers and colored the remaining ice cream yellow for a middle layer, but this is optional.
- Spread ice cream evenly over the top of your 2 cake layers (inside cake pans). The pans allow you to level the ice cream layers and make sure they freeze evenly. Transfer remaining ice cream to the last lined pan. Place all three pans into the freezer for at least 4 hours (or overnight) to make sure the ice cream is well-frozen and firm. (This will make frosting *so* much easier!)
Assembly
- Place a smear of frosting on your cardboard cake circle (to keep the cake from sliding while you decorate it) and center your first cake+ice cream layer in the center of the circle. I added a small swirl of frosting to hold the next ice cream layer in place, but this is optional. Center your middle ice cream layer on top of your base layer. Flip the remaining cake+ice cream layer over (so the cake layer is on top) and center on top of the middle ice cream layer. (I re-froze the cake for 10 minutes before starting the frosting process.)
- Now you're ready to crumb-coat! If you're unfamiliar with crumb-coating, it's just what it sounds like – spreading a thin layer of frosting over the entire outside of the cake to keep crumbs and ice cream smears out of your final layer. I noticed my ice cream edges starting to soften, so I froze my crumb coat for 15 minutes to make frosting easier.
- Add your final layer of frosting and smooth. I like to use an offset spatula and bench scraper for this part. Once your cake is covered, place it back into the freezer.
Now the fun part – decorating!
- Links are above if you’d rather purchase edible decorations; they’re a bit tedious to make! But if you’re feeling adventurous, they’re pretty easy to make with small bits of fondant and frosting. ;)
- To make bees, start with small oblong yellow balls and add three black fondant lines, using a dab of water to help them stick. (You can also add the lines with black gel color and a small paintbrush). Adhere tiny black dots for the eyes. (Or dab the back end of a small paintbrush or skewer in black gel food coloring and 'paint' the eyes that way.)
- Allow to dry 10-15 minutes, then add white fondant wings - with a bottle cap or circle cutter, cut out 4-5 white fondant circles, then cut a small oblong wing shape out of the sides of the circles. Press two wings into the back of each bee with a toothpick.
- I added three wire ‘springs’ to give the illusion of bees flying! I used 20g gold craft wire; you can buy this at craft stores or online. Wind three pieces of craft wire around your finger or a round spoon handle to create small 'springs.' I used 6-8 inches of wire per spring, which made a spring about 1/3-1/2 that height.
- To make frosting flowers, anchor a small piece of foil or parchment paper onto a flower nail with a bit of frosting, and pipe in small petals onto your nail. Freeze for 10-15 minutes before transferring to the cake (so they don't bend or break).
- Last step - add black gel color to about 1/4 cup of frosting and mix well. Transfer to piping bag fitted with a small round tip and pipe dotted lines between some of my bees and flowers. Again; a bit tedious and optional, but it added a really fun touch to the cake!
- Annnd you’re done! Freeze until ready to serve – and enjoy!
Video
Notes
Please note nutrition information is an estimate, and may not be exactly accurate. Nutrition information does not include fondant or premade edible decorations.
Nutrition
Serving: 1slice (1/16th cake) | Calories: 548kcal | Carbohydrates: 71g | Protein: 6g | Fat: 29g
Did you make this Bumblebee Ice Cream cake?
Let me know how it went - or find me on Pinterest or on Instagram and tag @IntensiveCakeUnit in your photo!
You can also leave a comment or recipe rating at the bottom of the page!
Other recipes you may love...
(Click / tap the photos to be taken to the recipe pages!)


Pingback: Ice Cream Cone Cake (no ice cream maker required!) ~ Intensive Cake Unit