Old Fashioned Cocktail Cheesecake
I’m genuinely SO excited to hit ‘publish’ on this Old Fashioned cocktail cheesecake recipe! This one has been in the […]
I’m genuinely SO excited to hit ‘publish’ on this Old Fashioned cocktail cheesecake recipe! This one has been in the […]

Could you use a simple & delicious way to use up sourdough discard – and get an amazing Lemon Poppyseed

Strap in – we’re making a no-bake Espresso Martini cheesecake that’s packed with cocktail flavor! Since my Coconut Rum cheesecake –
Lemony, zesty, and creamy – it’s true of the Lemon Oreo, so all of those components had to go into
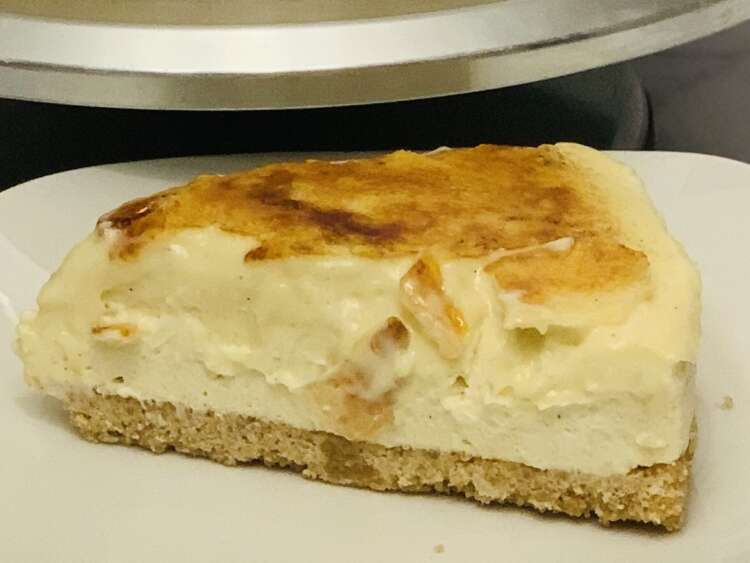
Don’t want to turn on your oven this summer?Try this this 6-ingredient no bake Crème brûlée cheesecake! Continuing my no-bake cheesecake

Looking for a simple but elegant summer dessert? I’ve got you covered with this No-bake Lemon Oreo Cheesecake! It’s made with just
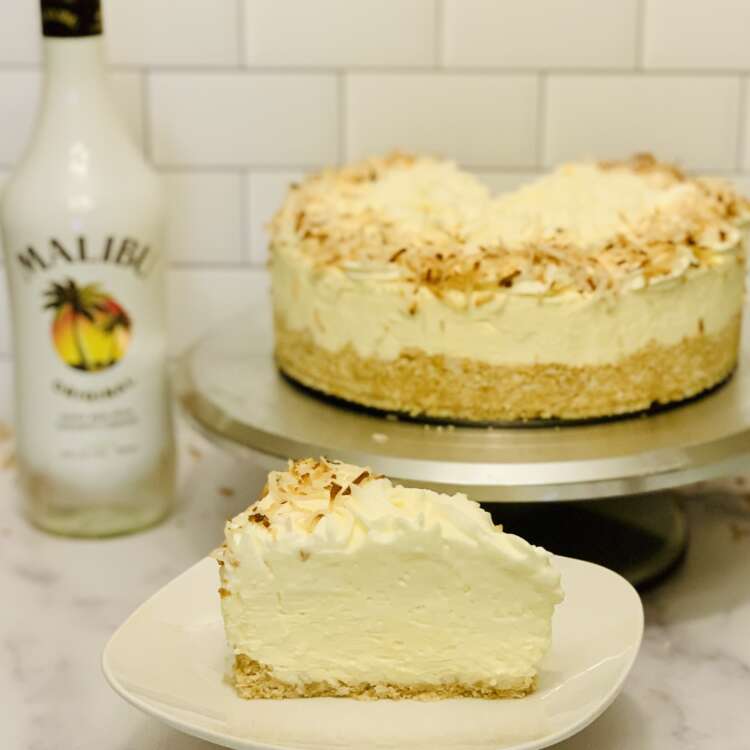
If it’s too hot to turn on the oven…~ I’ve got you covered with the perfect Malibu Rum-infused no-bake Coconut

Need an easy, delicious way to use up sourdough discard (and some strawberries)?I tweaked my classic Sourdough Discard layer cake

So you want to make a no-bake Oreo Confetti Cheesecake? (Okay, or an Oreo Funfetti Cheesecake?) Either way – got you

So you want to make a Tennis ball cake? I’ve got you covered! 🙂 Whether you need a Tennis ball cake

Chocolate Sourdough Discard Cake Need a delicious (easy) way to use up sourdough discard?This Chocolate Sourdough Discard layer cake uses 250g
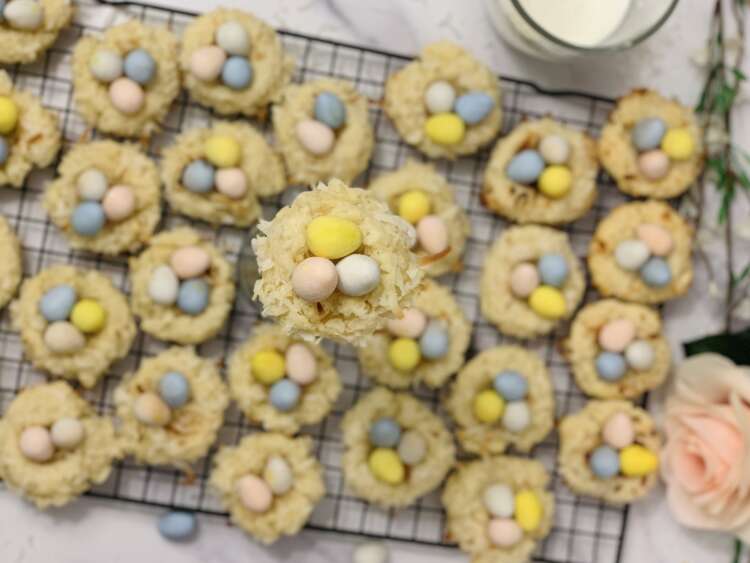
On the hunt for an Easter egg dessert that’s easy to make, adorable, and full of delicious flavors? Flavored with

Cake Ring Hack for smooth frosting! After *6 years* on the smooth-frosting-struggle-bus – I finally found a method that I don’t

Looking for a great Cosmopolitan Cupcake recipe? Cranberry, orange, lime, and vodka – honestly, what’s not to love? And in my
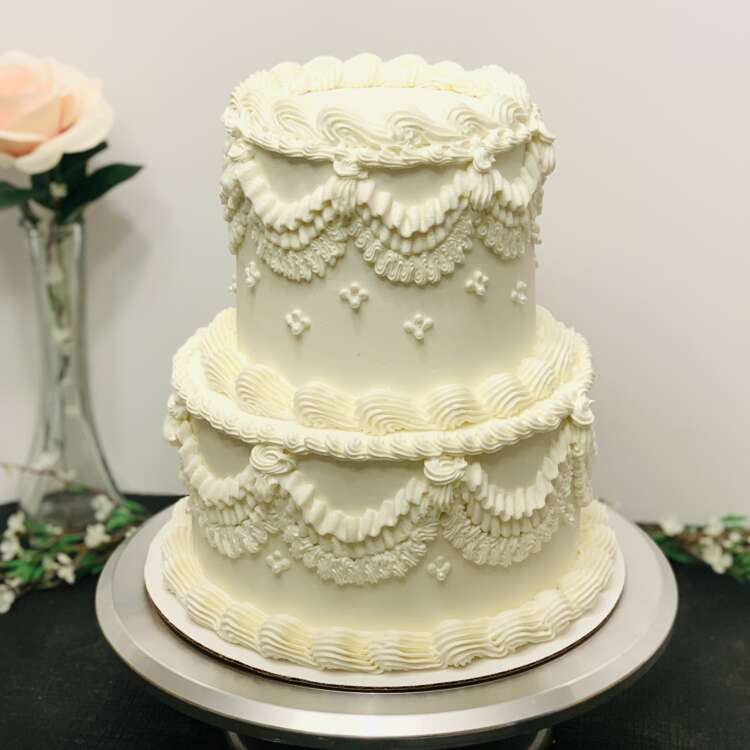
Wanting to decorate a Vintage Wedding Cake? If you’re giving any thought to decorating a vintage wedding cake – whether

Need a delicious (easy) way to use up sourdough discard?This Vanilla Sourdough Discard layer cake uses 250g of discard -and

I had 90 minutes. At *best.* At the end of that time, rest / reading time would be over. And as

Need a pickleball cake for a birthday? (or pickleball tournament or whatever? 😉 )If you’re not looking for anything too

“Twas a long time ago, longer now than it seems, in a place perhaps you’ve seen in your dreams.” (Nightmare

A “Berry First Birthday” cake recipe (made with low- to no-sugar!)If you’re looking for ideas for a ‘berry first’ cake

A delicious cake-take on the ‘Kahlua mudslide’ cocktail! (or use another chocolate-friendly liqueur if you like 🙂 ) My initial idea for
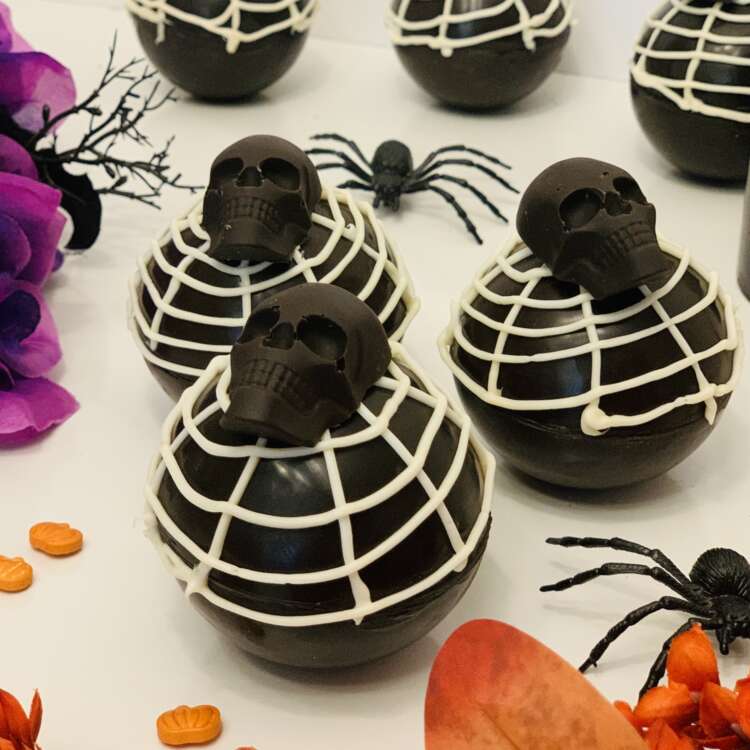
It’s time for Halloween Hot Cocoa bombs!I don’t even know if hot cocoa bombs are still an ‘in’ thing at

Can I make my own wedding cake? Should I make my own wedding cake?(What are the pros and cons?) (And what
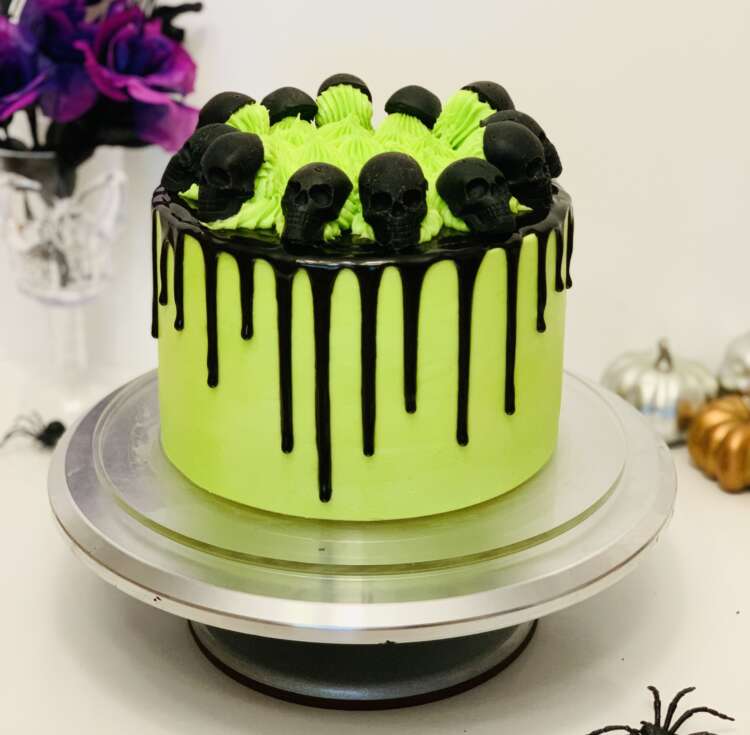
Halloween cakes are *still* the most fun! I’ve been making Halloween cakes for I think 6 years now – and it
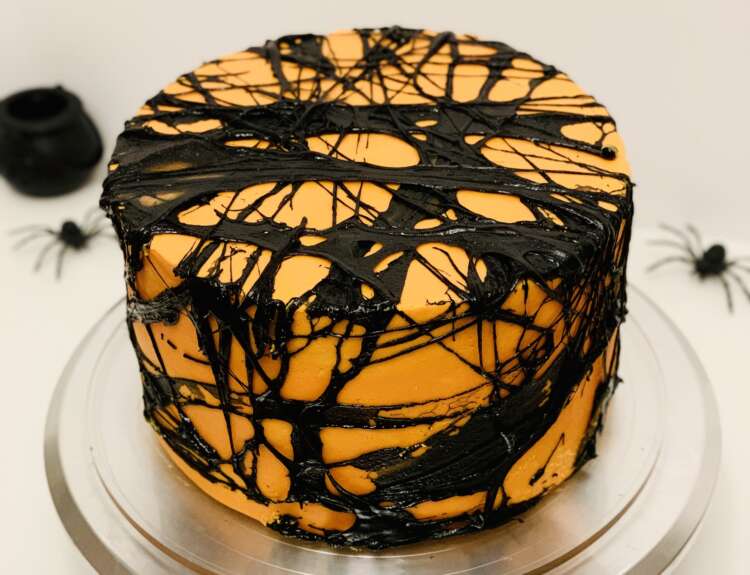
“Can you make a BLACK marshmallow spiderweb cake?”We’ve all seen the black-frosted cakes covered in white melted-marshmallow spiderwebs. But what